Getting Started with huddle.live Room Names
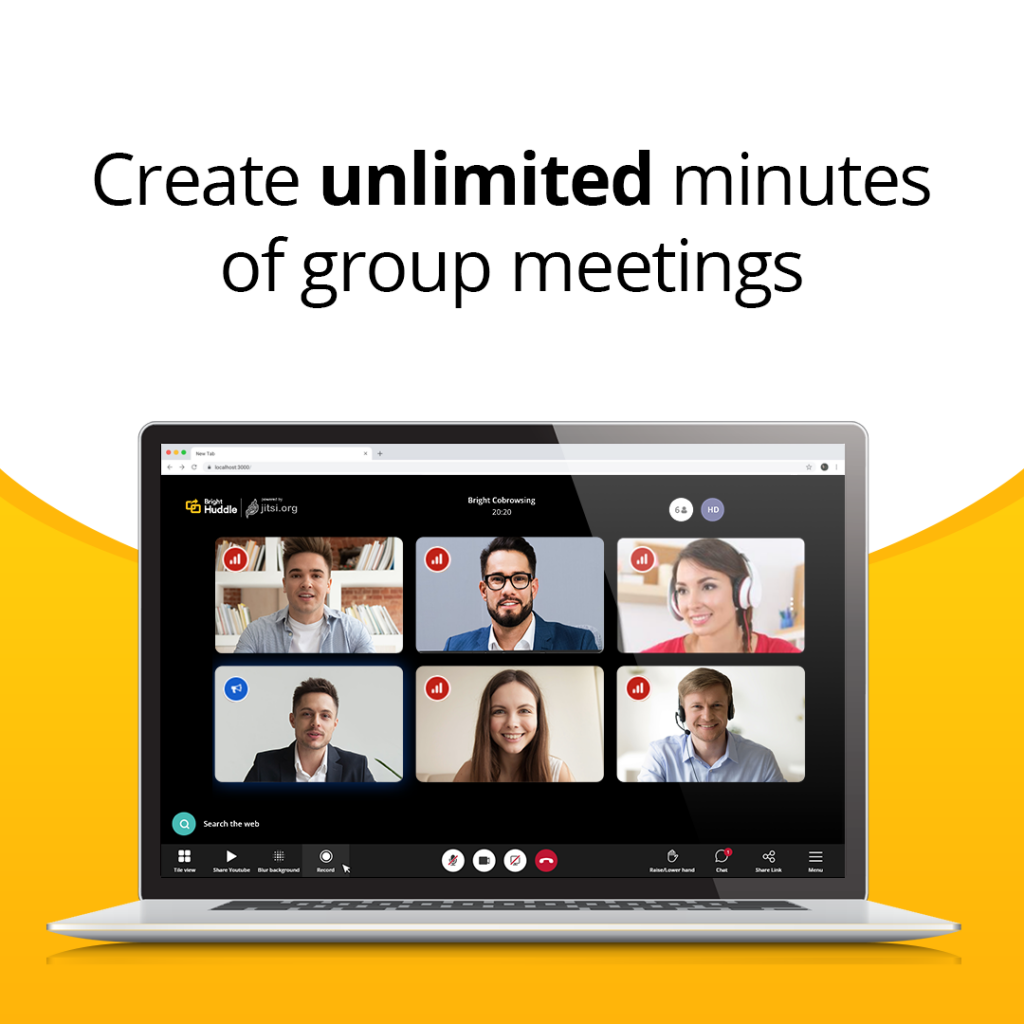
A room name is essential for gathering the team for impromptu or planned meetings, interviews, huddles and more. This tutorial helps new huddle.live users get set up to make more room names fast and easy. Connect with a friend, co-workers or family members safely.
Signing In
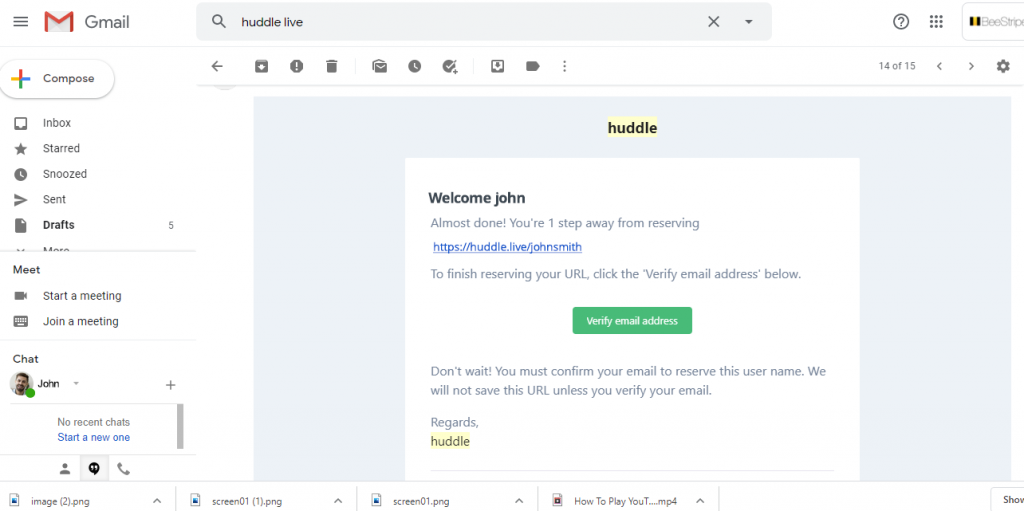
1. Hosting a Huddle meeting is as easy as 1, 2, 3. All you need to do is confirm your email address (subject: “Verify email address”). After you have registered, your URL link name is instantly ready for any room name.
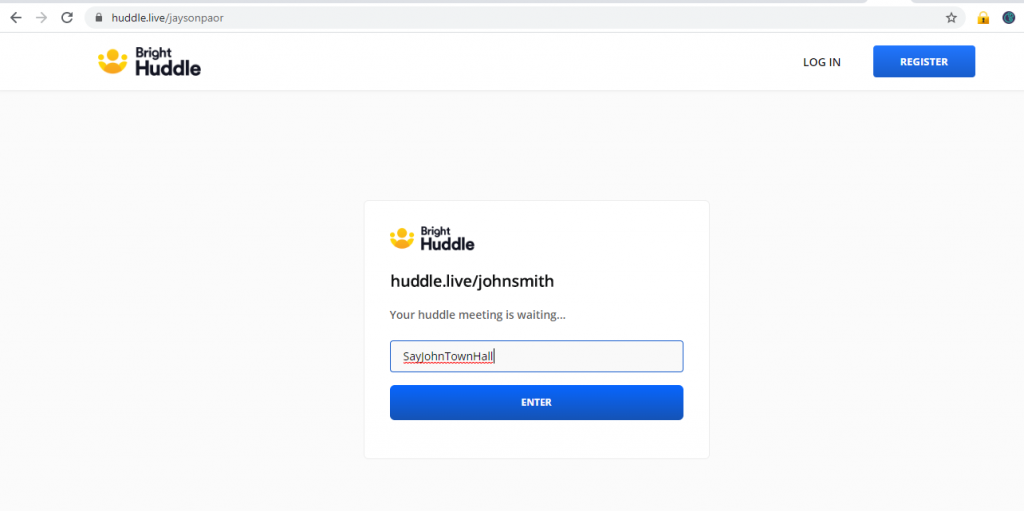
2. Submit any random name for your meeting room and then click Enter. Choose a room on the fly! Any name works for each meeting (i.e. Huddle, Win, Happy, Earth, Pizza, Hawaii, etc).
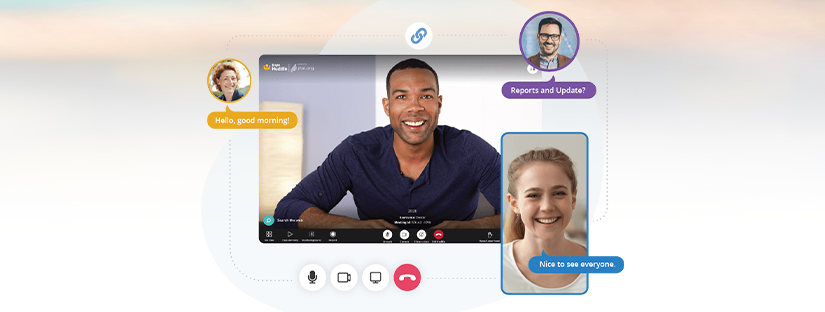
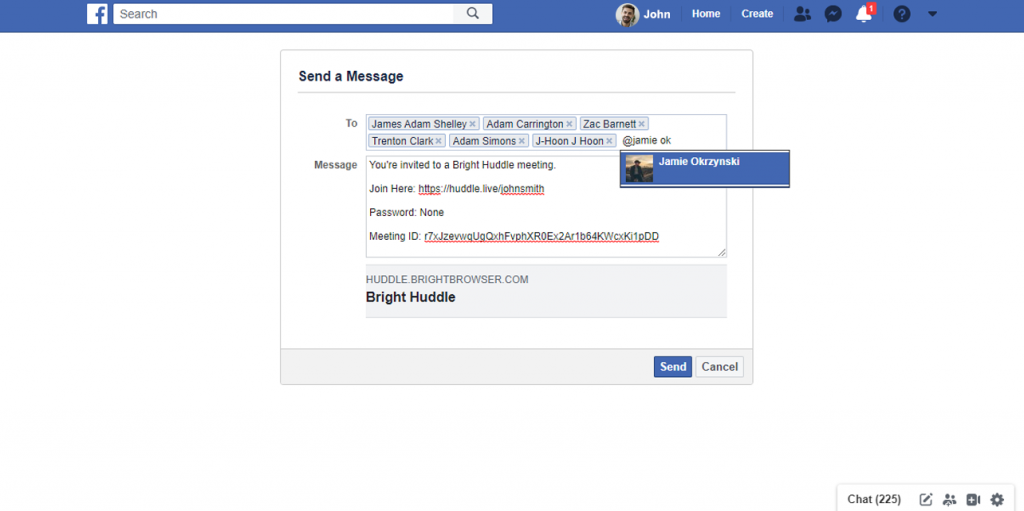
3. On the next screen, your meeting room will launch and you’re ready to go! Immediately start a Huddle meeting, send and share invites to your friends via Gmail, Messenger, WhatsApp, Twitter, Yahoo and Outlook.
How to Enable Protected Mode
It’s very easy to secure your Huddle room so you and your friends, colleagues and team can meet safely. To passport-protect your room names, make sure to follow the steps below:
1. Go to https://www.huddle.live/ and click on Log In. Use the email and password that you have created and once you are signed in, simply enable the Protected button.
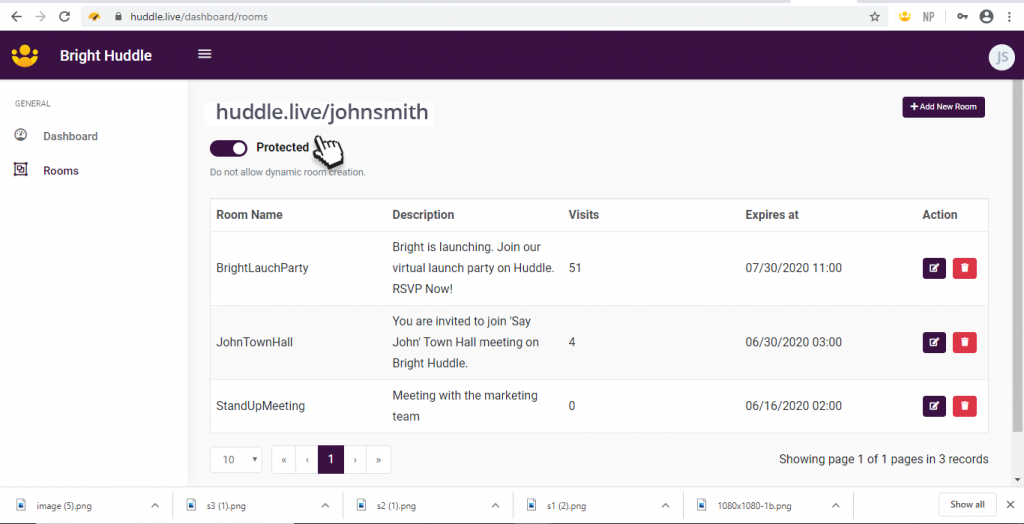
2. For security reasons, only room names you created will work. Create a password in the meeting link for participants joining the meeting. You can enter whatever password you’d like. However, make sure it’s easy to remember but difficult for others to guess. An uninvited guest can disrupt your meeting and we don’t want this to happen.
3. Click the Copy Invitation button and share it with your participants via Gmail, Messenger, WhatsApp, Twitter, Yahoo and Outlook.
Note: The password must match what you added in the meeting invite. Be sure to send the password to your participants beforehand via email or they won’t be able to join the meeting.
Watch this quick tutorial on how to add new room names using huddle.live