Best huddle.live Keyboard Shortcuts and How to Use Them

Master huddle.live in no time

In this article, we’re sharing our favorite huddle.live hacks to help new users become a video conferencing expert. Below are some of the best keyboard shortcuts that you can use for Mac and Windows that enable you to navigate the huddle.live settings without using your mouse. 

By using these shortcuts, you can easily manage your meeting, mute and unmute the audio, start and stop recording, and perform a variety of other tasks, all with a simple keystroke. Let’s get started.

huddle.live keyboard shortcuts on Mac

  • Control + V: Start or stop your camera
  • Control + M: Mute or unmute your microphone
  • Control + A: Manage call quality
  • Control + C: Open or close the chat
  • Control + F: Show or hide video thumbnails
  • Control + D: Switch between camera and screen sharing
  • Control + R: Raise or lower your hand
  • Control + S: View or exit full screen
  • Control + W: Toggle title view
  • Control + ?: Show or hide keyboard shortcuts
  • Control + SPACE: Push to talk
  • Control + T: Show speaker stats
  • Control + 0: Focus on your video
  • Control + 1-9: Focus on another person’s video

huddle.live keyboard shortcuts on Windows

  • Alt + V: Start or stop your camera
  • Alt + M: Mute or unmute your microphone
  • Alt + A: Manage call quality
  • Alt + C: Open or close the chat
  • Alt + F: Show or hide video thumbnails
  • Alt + D: Switch between camera and screen sharing
  • Alt + R: Raise or lower your hand
  • Alt + S: View or exit full screen
  • Alt + W: Toggle title view
  • Alt + ?: Show or hide keyboard shortcuts
  • Alt + SPACE: Push to talk
  • Alt + T: Show speaker stats
  • Alt + 0: Focus on your video
  • Alt + 1-9: Focus on another person’s video

Create Room Names on huddle.live: A Quick How To

Getting Started with huddle.live Room Names

A room name is essential for gathering the team for impromptu or planned meetings, interviews, huddles and more. This tutorial helps new huddle.live users get set up to make more room names fast and easy. Connect with a friend, co-workers or family members safely.

Signing In

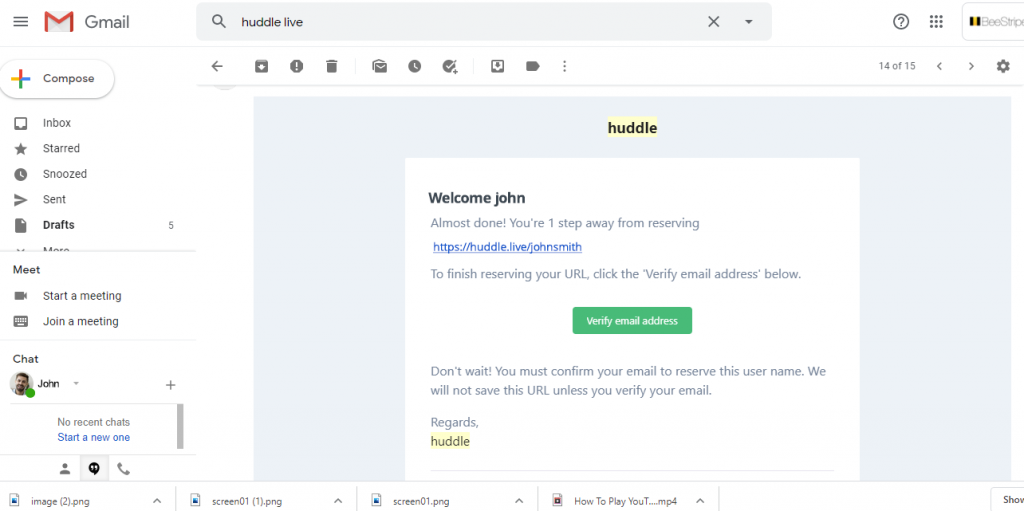
1. Hosting a Huddle meeting is as easy as 1, 2, 3. All you need to do is confirm your email address (subject: “Verify email address”). After you have registered, your URL link name is instantly ready for any room name.

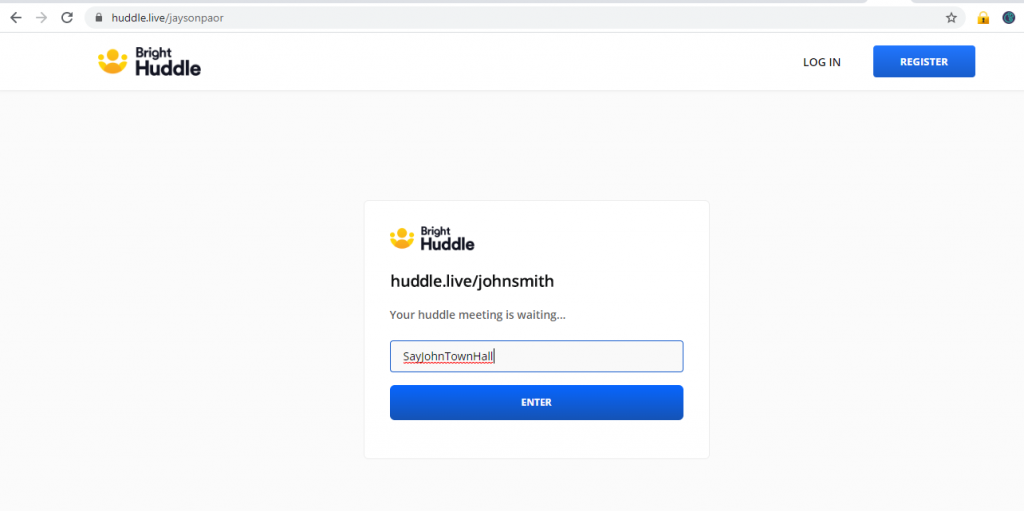
2. Submit any random name for your meeting room and then click Enter. Choose a room on the fly! Any name works for each meeting (i.e. Huddle, Win, Happy, Earth, Pizza, Hawaii, etc).

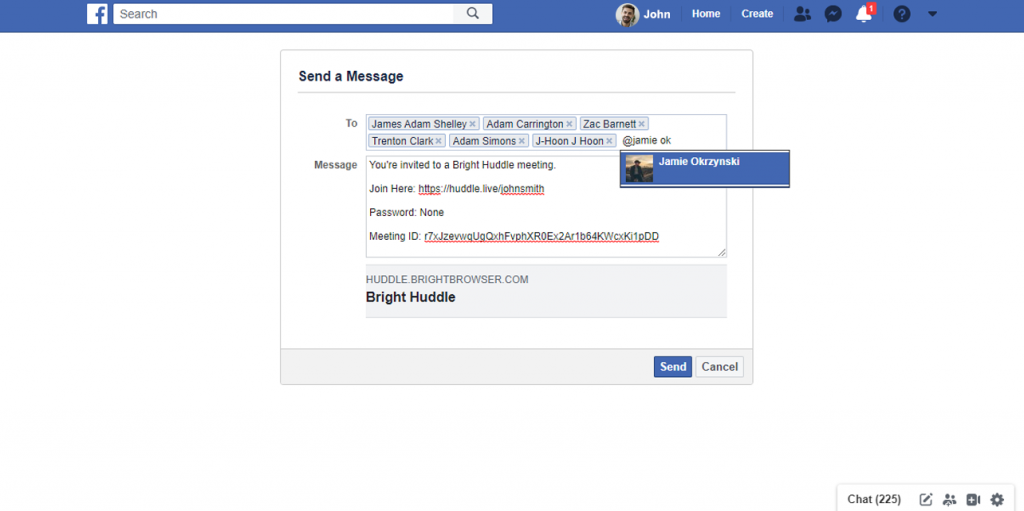
3. On the next screen, your meeting room will launch and you’re ready to go! Immediately start a Huddle meeting, send and share invites to your friends via Gmail, Messenger, WhatsApp, Twitter, Yahoo and Outlook.

 How to Enable Protected Mode

It’s very easy to secure your Huddle room so you and your friends, colleagues and team can meet safely. To passport-protect your room names, make sure to follow the steps below:

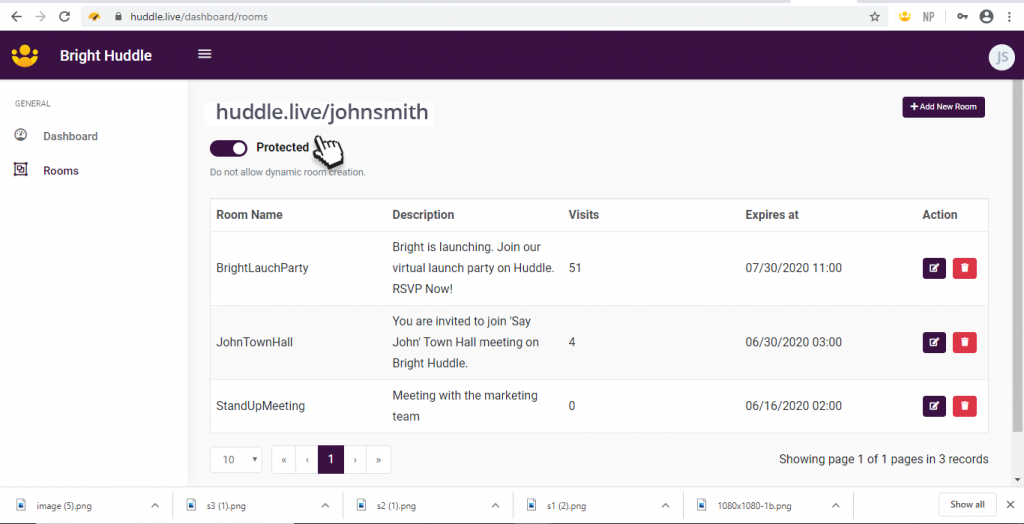
1. Go to https://www.huddle.live/ and click on Log In. Use the email and password that you have created and once you are signed in, simply enable the Protected button.

Note: Enabling protected mode will keep unauthorized people from using your link without knowing your room name.

2. For security reasons, only room names you created will work. Create a password in the meeting link for participants joining the meeting. You can enter whatever password you’d like. However, make sure it’s easy to remember but difficult for others to guess. An uninvited guest can disrupt your meeting and we don’t want this to happen.

3. Click the Copy Invitation button and share it with your participants via Gmail, Messenger, WhatsApp, Twitter, Yahoo and Outlook.

Note: The password must match what you added in the meeting invite. Be sure to send the password to your participants beforehand via email or they won’t be able to join the meeting.

Watch this quick tutorial on how to add new room names using huddle.live

Set up Your YouTube Party Like a Pro

Let the Party Begin.

Here are three simple steps you can follow on how to host a YouTube Party using huddle.live with your friends while social distancing.

1. Open a YouTube video

Go to www.youtube.com and choose the video you want to watch with your friends. Keep in mind that only one shared video is allowed at a time in your huddle party. When you find another YouTube video you want to share to keep your watch party going longer, you’ll need to copy and paste in the URL after the first video has finished playing on Huddle.

2. Click on the YouTube Party icon and start playing a video

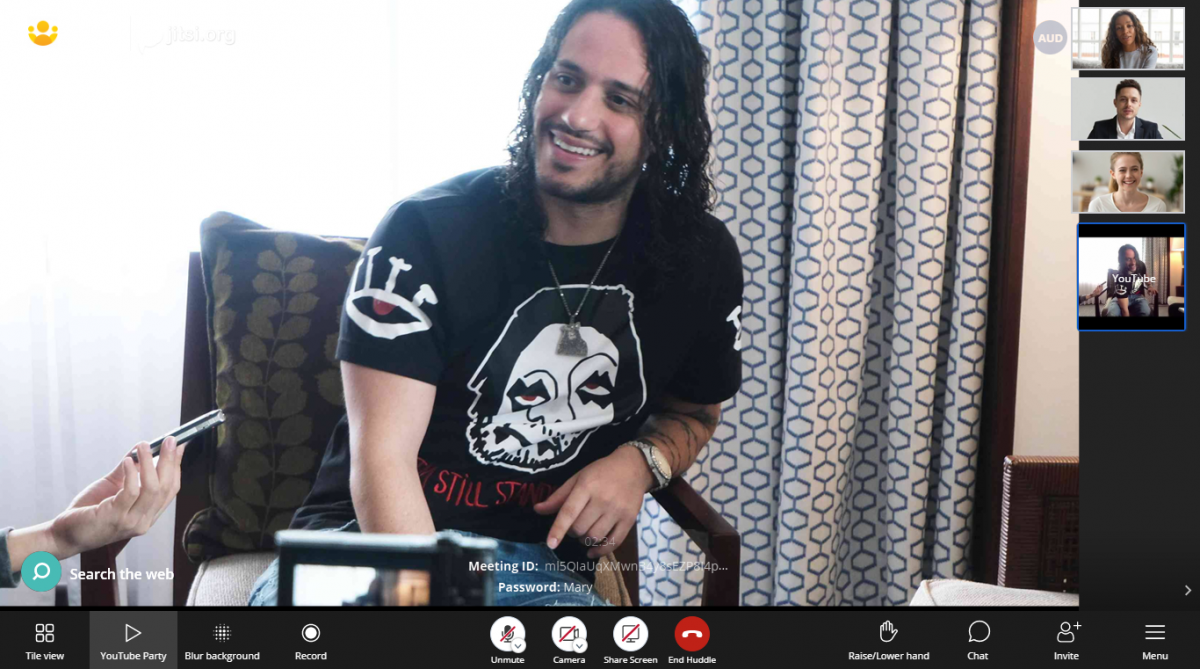
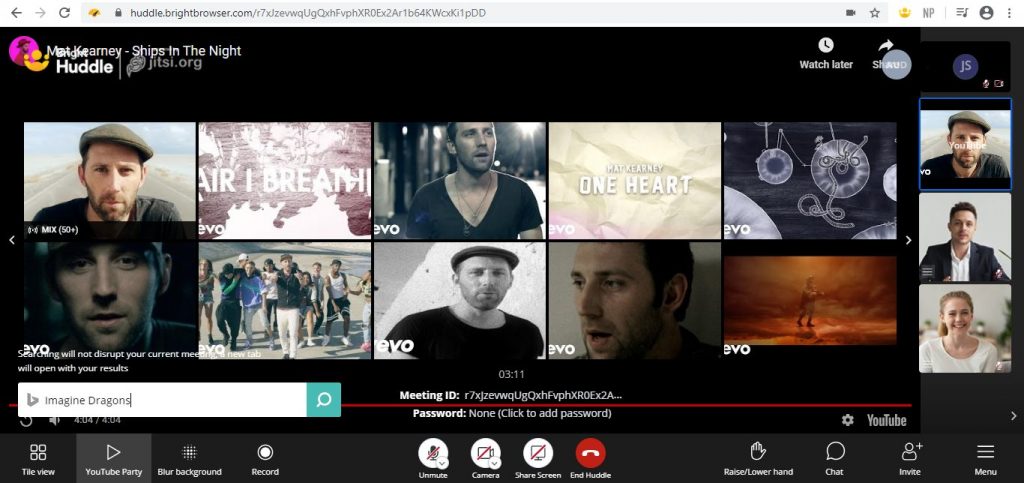
When you’re ready to start your watch party, go back to your room meeting. Click on the YouTube Party button, paste the URL link, then press Share and you’re all set. Click <insert play icon here> to “Start Watching”.

If you want to add more videos, you can browse popular videos or search for a specific theme using the search bar <insert icon> in the bottom left corner (i.e. type Imagine Dragons videos). Searching will not disrupt your current hosting party as a new tab will open with your results.

youtube-party-using-huddle-live

3. Use the Chat Box button

Enjoy chatting with your friends by clicking on the Chat box at the bottom of the screen to open it while watching the video. If you want to remove the video you’re viewing, click YouTube Party. To confirm, click Remove. Repeat Step 1 and 2 to start a new party. It’s that easy!

Watch this quick tutorial on how to set up a YouTube Party using huddle.live

No More Boring Meetings! huddle.live and Snap Cam Will Make Video Conferencing More Fun

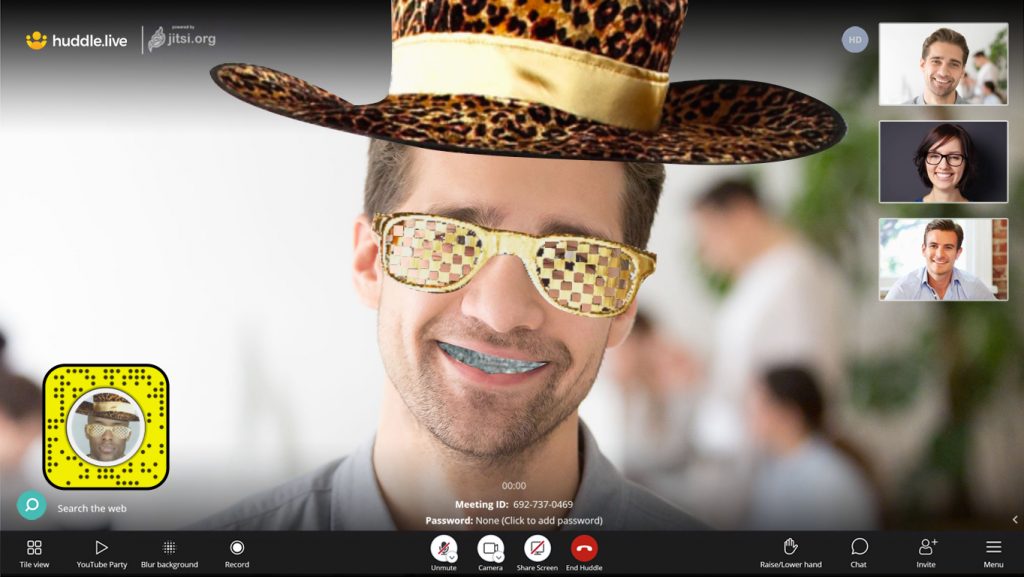
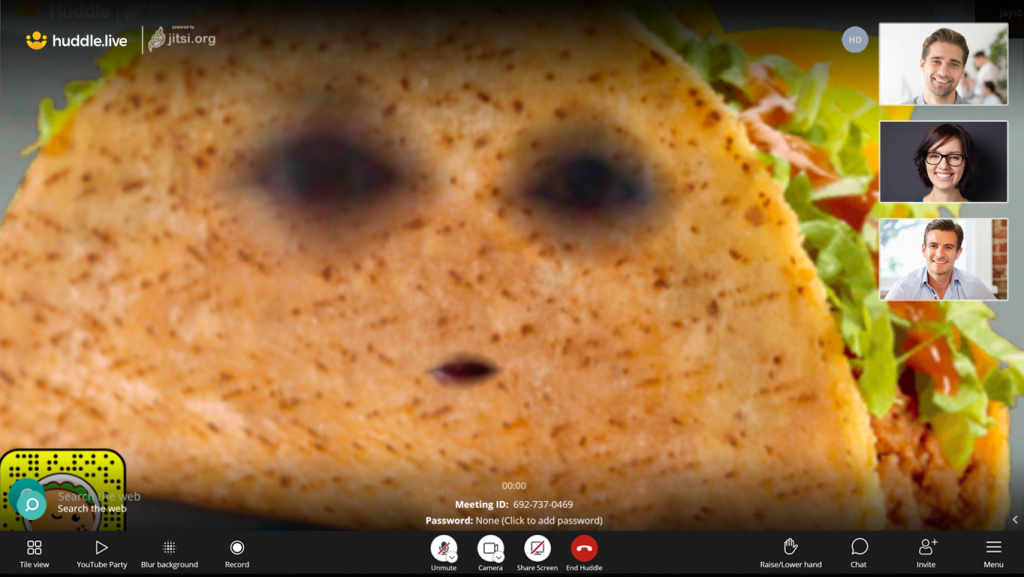
Spice up your next huddle.live meeting with these free Snap Camera lenses

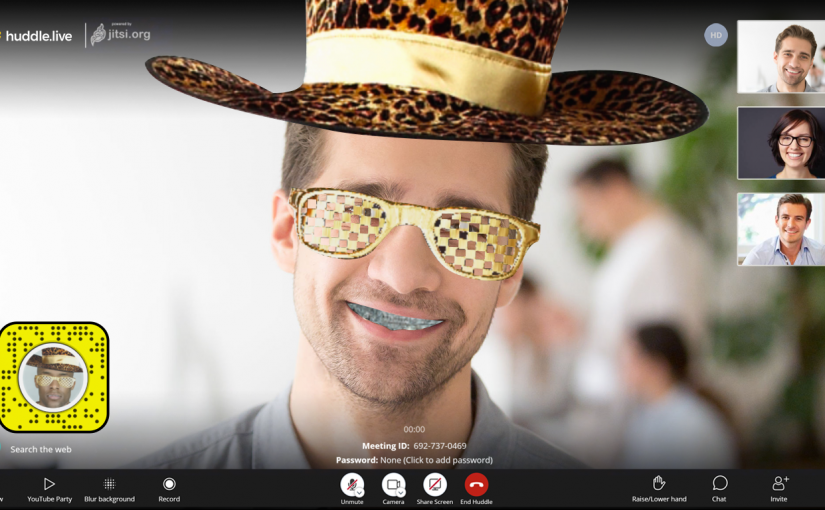
Whether you’ve been obsessing to transform yourself into a white tiger, a potato, or a slice of pizza long enough, or you’re just looking to liven up and impress your colleague on your next remote meeting, huddle.live and Snap Camera lenses offer plenty of great options to make your usual video conferencing more exciting and enjoyable with a personalized experience.

With a few clicks, you’re on your way to using these free and addicting lenses in your huddle.live video calls. Don’t worry, they’re super easy!

1. Download the Snap Camera Lens application

The installation process for Snap Camera is simple. Your mac or PC should have the minimum requirements of OS 10.12 or newer and Windows 10 (64-bit). You may want to restart your computer after it’s installed to make sure the camera is visible.

2. Log into your huddle.live account and go to Settings menu

Open up a huddle.live meeting room and go to the ‘Menu’ button in a snap. From there, click on the Settings and hit the Camera drop-down menu and choose ‘Snap Camera’ as your camera option. Once it’s up and running, and you’re able to see your face in the Snap Camera’s screen, you’re all set!

Don’t have an account yet? Reserve your huddle.live account for free.

3. Play around and go crazy with Snap Camera Lenses

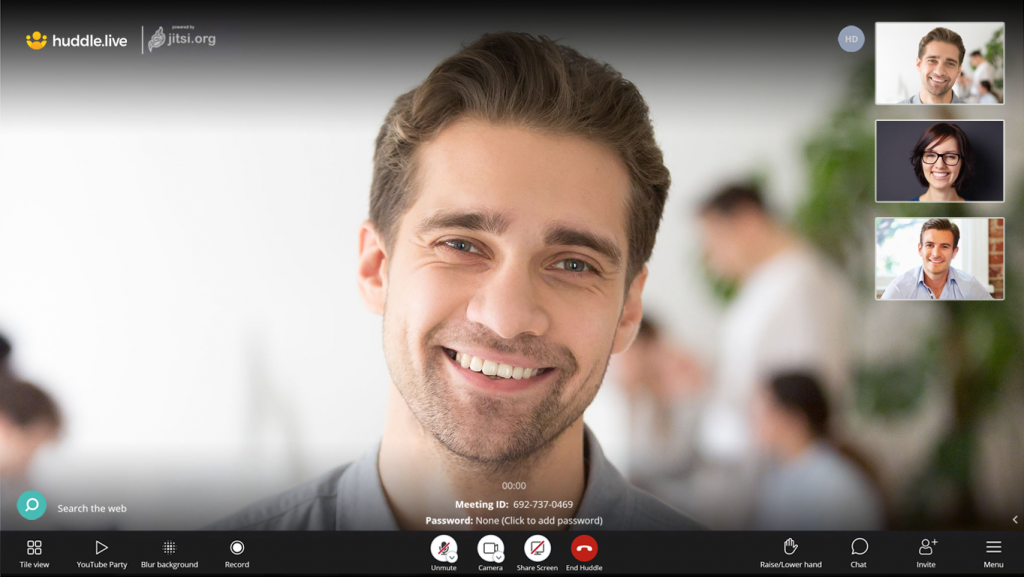
Let the fun begin. Mess around, go nuts and start exploring what filters work for you and what doesn’t. Just imagine, you can transform your virtual appearance from this:

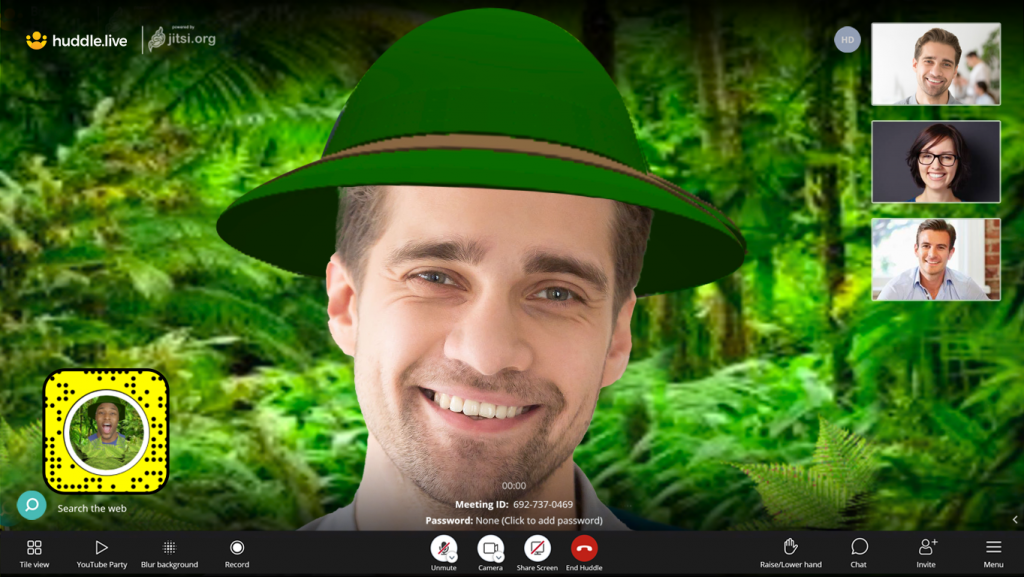
To this…

After.

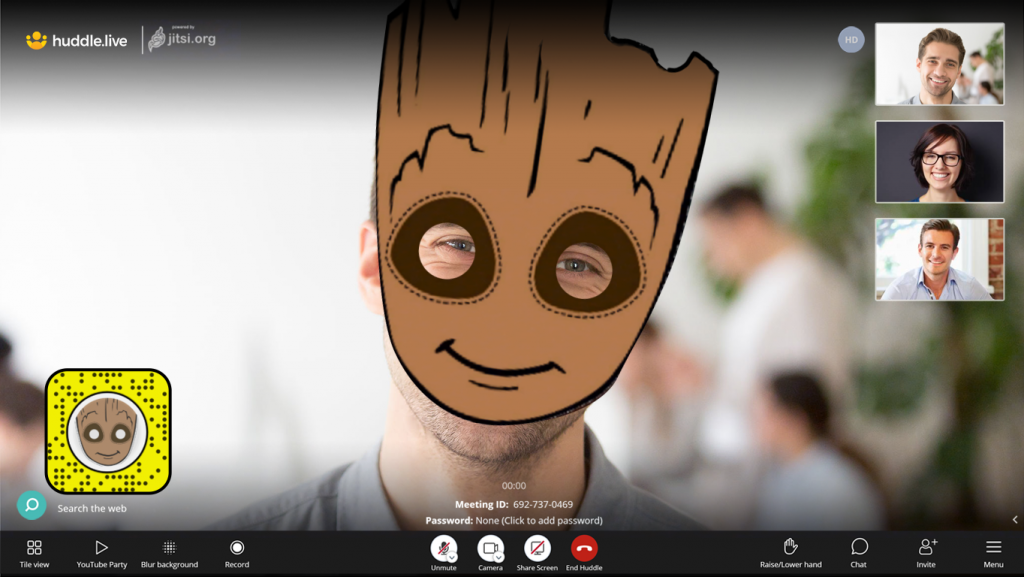
Hello, I am Groot….

Me backkk.

 Can’t stop, won’t stop now…

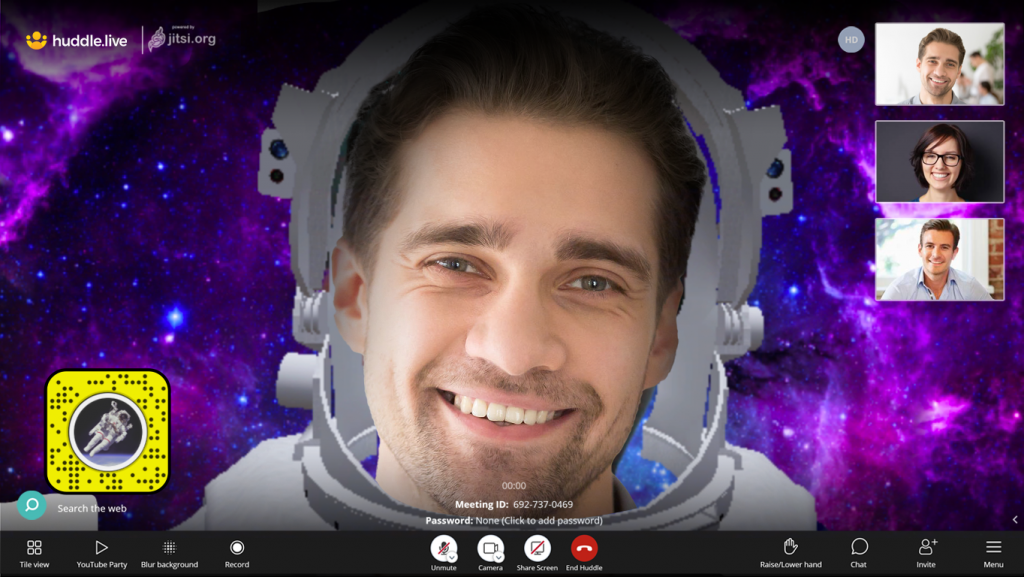
The Sky’s the limit.

Yeah, I’m way cooler than you…

Suit up and dress like a millionaire.

Just be aware: You can only change your Snapchat filter within the Snap Camera app on your computer, not within the huddle.live meeting. Also, you can star favorite your snap filters so you can access and change your background in real time while video conferencing.

Simply go back to the Camera option in your Settings and click on your computer’s default camera option to turn the Snap Camera off. It’s that simple!

Unless you really want to end up looking like a giant crunchy taco supreme during your entire huddle meeting, “taco ‘bout party”, then the choice is yours. Try it out for yourself today!

Have a specTACOlar day!

Step-by-Step Guide: How to Host Your Video Conferencing Using huddle.live

Conduct Free Video Conferencing and Meetings in 3 Easy Steps

Sharing your link to host your own free video conference is now made easier with huddle.live. Register in a minute and get ready to cancel your Zoom membership today!

1. Reserve

  • Get your dedicated short url: huddle.live/name
  • Enter your unique huddle name
  • Fill in your name, email address, and confirm password
  • Agree to the ‘Terms and Conditions’
  • Hit ‘Register’ and verify your email address

2. Pick a room name

  • Choose a room name for each meeting
  • Any name works (i.e. teamhuddle, marketing, dailycatchup)
  • Hit + Add New Room to add new rooms
  • Fill in your desired room name, add a short description and expiry date
  • Click ‘Save’

3. Share

  • Invite your friends to join you via Gmail, Messenger, WhatsApp, Twitter, Yahoo and Outlook
  • Copied the ‘Copy Invitation’ and add your friends’ names on your Facebook Messenger or Gmail account(s)
  • Hit ‘Send’ and you’re done
  • Enjoy hosting unlimited-minutes, cross-platform video conferencing and meetings for FREE